Wednesday, December 28, 2011
Monday, December 26, 2011
STS- Silent Traction System - 2012 Ride 135
I decided to add the STS - Silent Traction System to the kayak after going out for the first time because I was hitting the kayak with my paddle and just moving around in the kayak seemed to be too loud.

 I took a large rectangular piece and cut it in half for where I would stand up in the kayak for better traction when I would stand up in the boat. After carefully placing all of the pieces of the STS I pealed off the backing and placed in where I wanted it. I then moved to the area of the kayak where my paddle will rest while fishing. I took some blue painters tape to make a template and then cut out the sections of the large square pieces of the STS. Make sure that you lay the template down on the black side of the STS because if you do it on the back it will be backwards. I did this in this area because it was going to be on both sides.

Next it was time to move toward the back of the kayak where the rudder sometimes slams into the kayak while lifting it. I laid out the painters tape for the template and cut out a section that I wanted covered. I had to cut out a little hole for the rudder line guide and everything lined up perfectly.


I will be adding more but wanted to get out and fish a little more to see where I will need it. Installation on this product was a breeze and would highly recommend it to anyone that is wanting to dampen the noise in their kayak.
I picked up both the kit and the two large square sections of the STS to rig on my kayak. I decided that the kit would go inside of the cockpit area and I could customize the square pieces for the rest of the kayak. I did notice that after I installed the rudder that sometimes it would slam on the kayak when I would lift it back on the kayak.
The first step for anyone that is going to install the STS would be to thoroughly clean the boat. I've taken rubbing alcohol and followed up with warm soap and water. I then laid out the the kit to where I could see that my boot were rubbing on the foot wells of the kayak to start. I also added some to the areas around the hatch because I found myself throwing lures in that area of the boat when I would retie or just to store clippers.
I took a large rectangular piece and cut it in half for where I would stand up in the kayak for better traction when I would stand up in the boat. After carefully placing all of the pieces of the STS I pealed off the backing and placed in where I wanted it. I then moved to the area of the kayak where my paddle will rest while fishing. I took some blue painters tape to make a template and then cut out the sections of the large square pieces of the STS. Make sure that you lay the template down on the black side of the STS because if you do it on the back it will be backwards. I did this in this area because it was going to be on both sides. Next it was time to move toward the back of the kayak where the rudder sometimes slams into the kayak while lifting it. I laid out the painters tape for the template and cut out a section that I wanted covered. I had to cut out a little hole for the rudder line guide and everything lined up perfectly.
I will be adding more but wanted to get out and fish a little more to see where I will need it. Installation on this product was a breeze and would highly recommend it to anyone that is wanting to dampen the noise in their kayak.
2012 Ride 135 Anchor Trolley Installation
It's time to rig out my new Ride 135 from Wilderness Kayaks. One of the first items on the list is to install an anchor trolley. I ended up taking two different sets and combining the two to come up with the best trolley I could come up with.

One of the first things I had to do was to decided where I wanted to install the Harkens pulleys and marked with a pen to drill the holes. After drilling the holes I inserted the well nuts into place and tightened down the stainless screws.


After getting everything aligned with the back pulley I started the same steps for the front but I used a washer and locking nut to secure the pulley. I ended up putting some line guides on the kayak so that the trolley line wouldn't ride up on the kayak.


 Make sure when using the guides that you run the line though them before screwing the stainless screw into the well nut.
 I then ran the line though both the front and rear pulleys and tied them off to the bungee.


First, I laid everything out so I could see what all came with the kits and what I needed to get. The only other items that I needed to get to complete the installation was a few well nuts and stainless screws.
One of the first things I had to do was to decided where I wanted to install the Harkens pulleys and marked with a pen to drill the holes. After drilling the holes I inserted the well nuts into place and tightened down the stainless screws.
After getting everything aligned with the back pulley I started the same steps for the front but I used a washer and locking nut to secure the pulley. I ended up putting some line guides on the kayak so that the trolley line wouldn't ride up on the kayak.
Make sure when using the guides that you run the line though them before screwing the stainless screw into the well nut.I then ran the line though both the front and rear pulleys and tied them off to the bungee.I have a 2 inch nylon ring to complete the trolley that I don' t have on there yet. I'll be able to use my ParkNPole from Yak Attack in with out putting the pole though the scupper hole. Keep in mind that just about anyone can do these modifications to their kayaks. If you have any questions please let me know.
Tuesday, December 6, 2011
My New Ride 135
I wanted to give a special "Thank You" to Mike at Mariner Sails. He has once again gone above and beyond to help another satisfied customer. I met Mike yesterday out at the shop to follow him out the White Rock Lake to demo the Commander 140 and the new Ride 135.
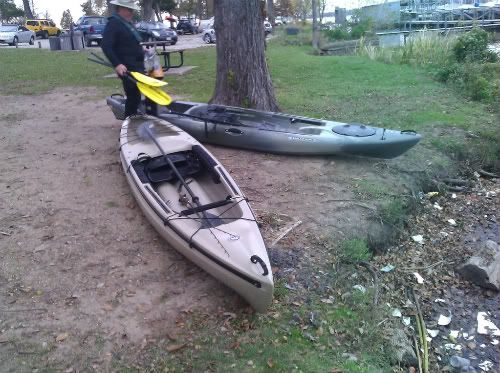
About the time we arrived Gutcheck met us out to paddle around the lake. I paddled both boats for quite some time with a huge weight on my shoulders to pick one of these two kayaks. I couldn't loose on either one but it was killing me because I couldn't make up my mind. After a while a few of the guys and girls showed up at the lake to do their weekly paddle with Mike. He invited me to tag along to really get a feel of the Ride 135 after spending a lot of time in the Commander. After paddling with the group for a few miles we came to a resting point to visit and relax. On the return back to take off the couple that could probably compete in an Iron Man competition started to take the lead and that is when I decided to push my self to keep us with them in their tandem boat. This is when the performance of the kayak really separated itself from the Commander. This kayak is the bomb! Its fast, turns very well, stable, dry and had a ton of room. I really like the Commander because it was super easy to stand up in, more room than the Ride, very dry and also paddling in the elevated position was a breeze. Both kayaks are very well suited for kayak anglers and would highly recommend either of these boats.
I ended up stopping by just after lunch today to pick a color and decided to go with the more visible color so I didn't get run over by a power boater. I'm pumped and ready to rig her out! As I start rigging her, I'll post a DIY report for each items I put on the kayak. Here are a couple of photos.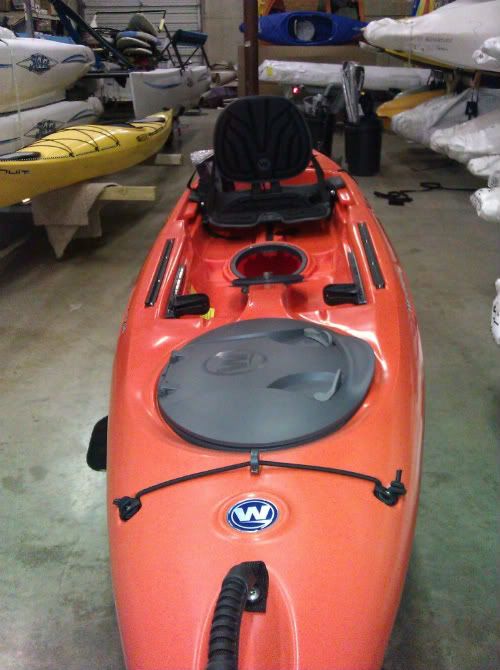
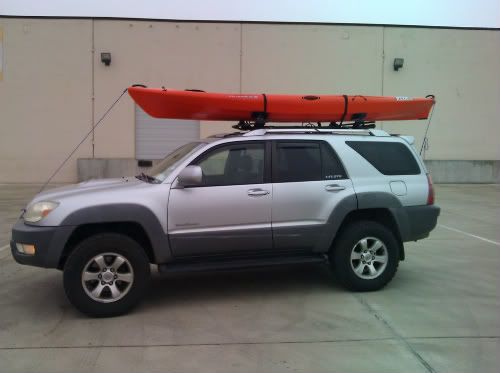
I ended up stopping by just after lunch today to pick a color and decided to go with the more visible color so I didn't get run over by a power boater. I'm pumped and ready to rig her out! As I start rigging her, I'll post a DIY report for each items I put on the kayak. Here are a couple of photos.
Subscribe to:
Comments (Atom)